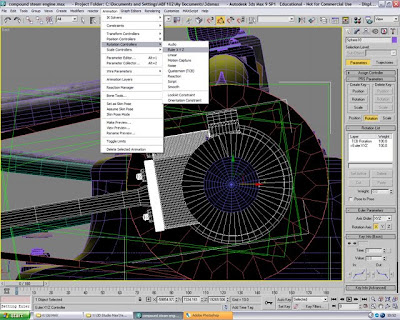
The first task was to animate the arrangement that spins around as you can see in this next screenshot with the two sphere hanging from it:

One main problem we discovered when rotating this round was that the base of this part on the actual engine was round and the base of the part in 3d Max was oval. This was a problem which I don't know whether it came form importing the object into the scene when the objects were collated or a minor oversight when the item was created but none the less, I used my best efforts to amend it, it didn't go perfectly, but I felt much better after selecting the polygons at the base of the object and scaling them one particular way, but because of the way it was moulded, i found it awkward to get it exactly right. Then it was just a case of Autokeying it rotating, I used the 'Centre to Object' Button on the Pivot point Edit tool and then simply moved the pivot point downwards to the base of the object. I used the video we recorded to calculate it would need 90 frames to turn on one full rotation at 30 frames per second (fps). So I made sure that one full rotation had been completed on the 90th frame.
Wheels
Sorting out the animation for the wheels was fairly easy, it consisted of grouping the items contained within the wheel together:

and setting the pivot point in the correct location and using the rotate tool to spin them round, again, i used the video to estimate around 6 seconds for one full rotation for the wheel, so I ended the animation at the 180th keyframe for one full rotation. rotating both of the wheels together saved me some time because it meant i only had to animate the wheels once instead of turning them separately.
Machine Arms
To start with I animated the arm at the very far side of the machine first simply because it was easiest to start with this one in the side view.

In this first instance I used 'Set Key' to keyframe the animation to see how smooth it would be, it turned out to be ok but i learned that Autokey would be a much better bet for this, trying the Euler function for roatation would've been first choice but trying to master this proved to be too difficult in the timespan we had left to complete the assignment in preperation for the presentation. Again timing was used from the engine video to gain the most accurate speed for the movement of this object:

'S' Shaped Arms
The essence of moving these arms is very simple, the most important part is getting the pivot point dead centre of its rotating pivot.

once the pivot point was correctly located, we checked to see whether it was rotating on the correct point and once it was, It was just a case of doing the same with the other 'S' shaped arm and rotating them together using the 'Autokey' feature as before.
Moving the main arms connected to the 'S' shaped arms was not such a difficult affair, with the Autokey function selected, every 10 frames i moved the arm using the 'Left' viewport to place the centre of the rotating point with the 'S' shaped arms in the hope that it would move with it smoothly and flow.

next, i viewed the machine from the top so that i could select the right bits from the left hand side of the machine so they could be used for the right hand side:

the easy job was cloning them over, but the harder task was to get them to move at separate times, at first in just trying to move the key frames around, the cloned arms kept wanting to catch up the previous animation and therefore sped up to compensate, eventually Matt and I overcame this by extending the timeline and moving the keyframes along and copying the last few keyframes and placing them at the beginning of the timeline.

Linkage
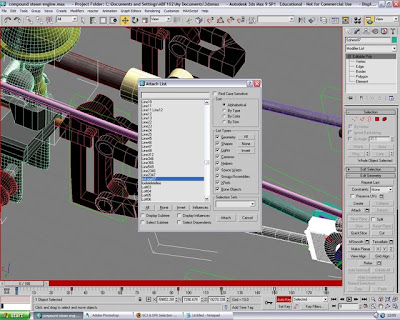
This was probably one of the more difficult parts of the animation and getting it to look smooth and flowing naturally, Matt and I tackled this part to the best of our efforts using Autokey and minor movements to get the linkage into place each time one of the bars moved and trying to get the parts that join to stay together, the first task was to attach the items required to move in the linkage so they become one item:


the animation again was just careful movement through Autokey to get everything into line and to where it should be, this was probably the hardest thing we have come across so far with the animation side of things.
After we managed to complete this difficult task, we had one full rotation of every moving component we used the curve editor to select 'Cycle' so that the engine would just be on one continuous loop.
No comments:
Post a Comment