Applying the mapOoh dear, the last week, better get cracking, now its time for the fun part. In all I'd say I'm happy with my efforts so far, I've gained a wealth of experience through doing this and invaluable knowledge base that will benefit me far.
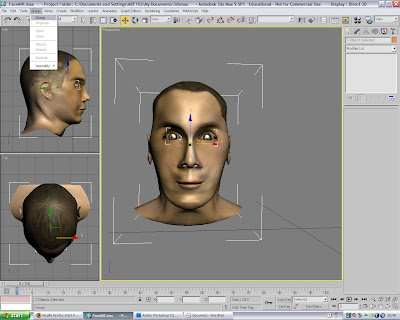
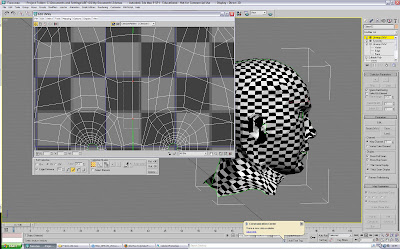
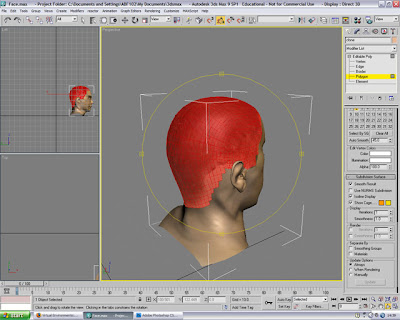
Before we start to think about applying a Map to the face, we have to sort out the UVW characteristics first. Above Editable Poly, but below the Symmetry, choose from the drop down box - 'Unwrap UVW', this is a feature that allows you to play with the fine tuning of a UVW map, to allow you to customize every individual vertex of a UVW map. The modifier box should look something like this:
with the 'Unwrap UVW' modifier selected, choose 'Face' and then on the lower panel, click onto 'Planar' and you should see a green outline come up around your face, now with the settings we can move, rotate scale this object, the point of this is to get the centre of the face to have a green line all the way round it
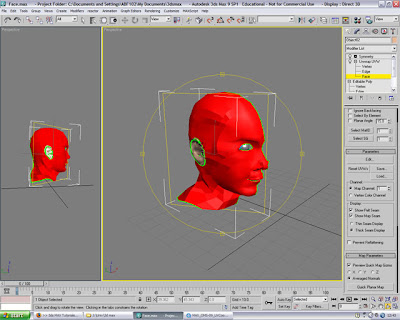
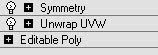
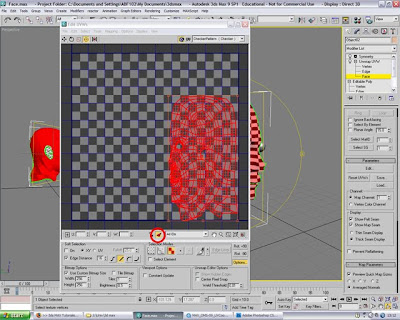
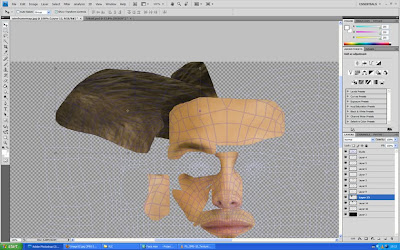
next apply just a basic chequer material to it, you may need to edit the size of the material in the settings to get it to appear exactly like mine

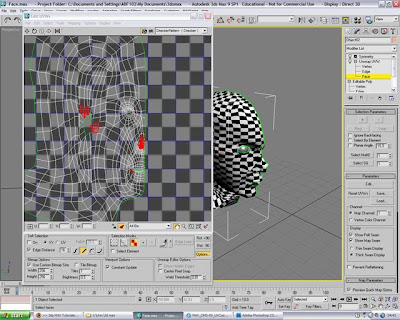
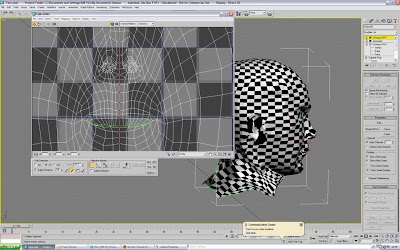
Now on the lower panel, click onto Edit still on the 'Unwrap UVW' option and a box with your map should open up such as this:

Next click onto the little triangle at the bottom of the window which just removes the unselected objects (e.g. the ear)
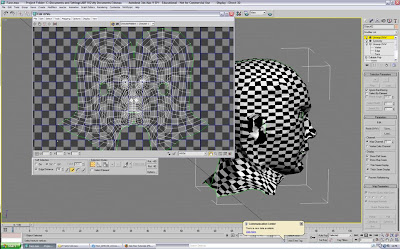
Next I pressed mirror at the top of the page to flip the map, also I sorted out the vertices so they were neatly arranged and the lines were morel flowing a bit more naturally.
The faces in red are overlapping vertices which need to be amended, one way to do this is to use the 'Tools' - 'Relax' option and just use the default setting and click ok with the offending vertices selected, this will move them about a bit, (sometimes for the worse, sometimes for the better) but just keep playing around with this until all the overlapped faces have disappeared.
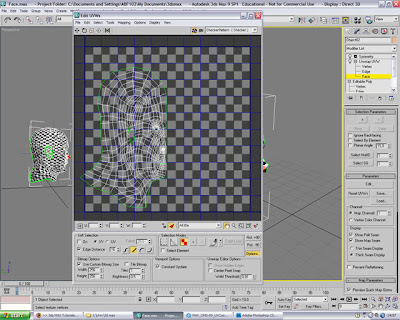
Sort the map out so that the front of the face is completely flat, it helps to use the blue line from the background grid to line it up against, once you're done, close the box, it will automatically save the settings, although saying that, now would be a good time to save your work if you;re following this. Your work should now look something like this:
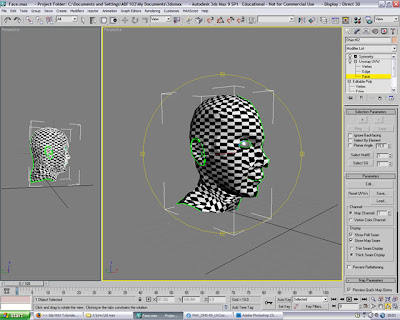
If there's any obvious pinching with your chequer material, then you know you need to go back into the Editing feature and eradicate these. Next you need to select the polygons in the ear with Pelt selected and click 'Edit Pelt Map' again on the UVW unwrap feature
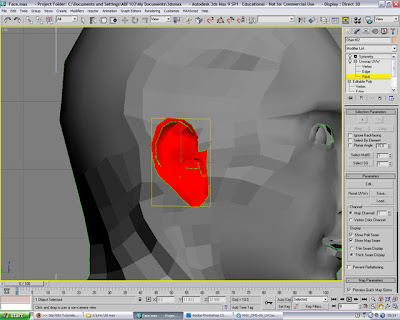
This is the ear selected through the Edit Pelt map feature, this will enable you to pull apart the vertices of the ear so it because a flat and uncomplicated object, my ear seemed to go quite differently to Eric's and I did have some trouble with it.
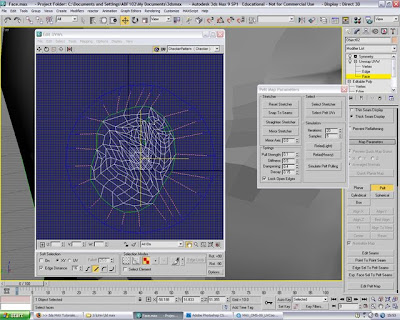
Now go back to 'Edit' on the UVW unwrap menu and view the ear in the UVW unwrap box
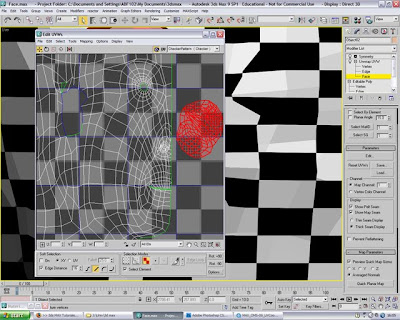
Scale the ear so its the correct size for the hole in the head
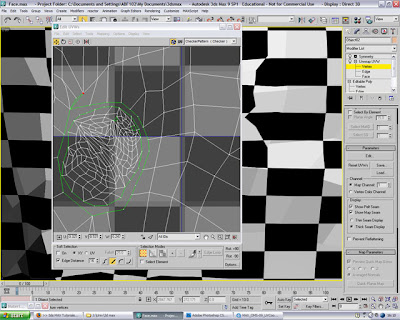
On the Select toolbar, click 'Select overlapped faces' again to see if there are any and remove them if there are.

Now you need to add another 'UVW unwrap' modifier, but this time it has to be above Symmetry. Go back into the edit function as before but on the Parent 'UVW unwrap' click on your face but make sure it is the symmetry part selected and not the original half, click 'Mirror' and move this side of the face so the two are touching in the middle and start to weld the vertices down the middle to make the two become one.
Do this all the way down the middle of the face
Also, as we did earlier we also need to remove the Inverted faces, 'Select' - 'Inverted Faces' Until you have something like this:
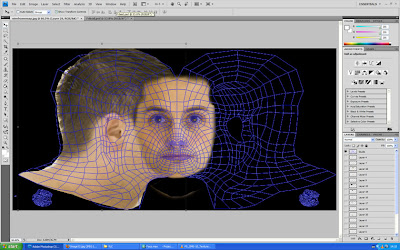
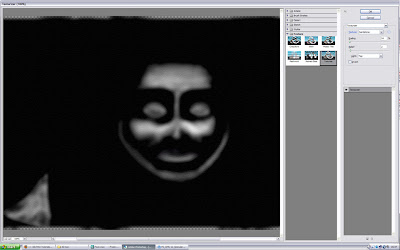
Now, to render the template to transfer to Photoshop, click Tools - Render UVW template, change the Width to 2048 and the height to 1024 and trying out the various options here we want to render a wire frame map, choosing Normal would produce this sort of result:
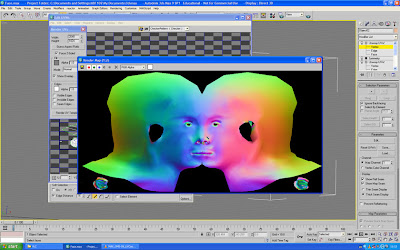
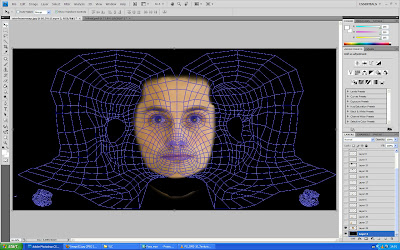
But we want the options 'None' with 'Visible Edges' ticked. This will produce a wire frame map like below (Already transferred to Photoshop):
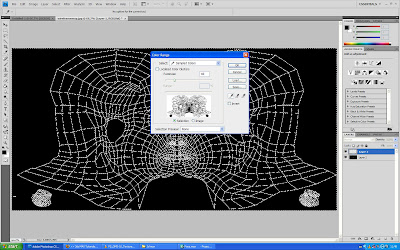
The way to save your render is just clicking the little disk icon in the render window, save it as a jpg then open it up in Photoshop. Select all and Copy, create a new layer above the wire frame one and Press the button underneath the colour palette that isn't chosen already as default, should look something like this:
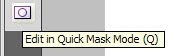
after pressing that button, paste your wire frame map onto that layer, come out of quick mask mode by pressing the other button or Q again. Choose 'Select' - 'Modify' - 'Border' and choose around about 2-4 pixels, I found 2 the best and it just expands the selection a little.
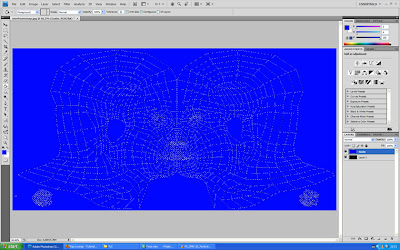
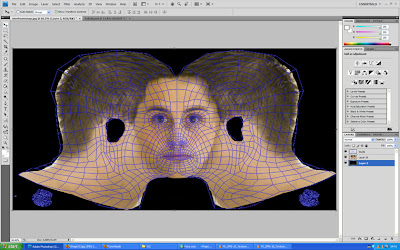
Now on the right hand side where the layers are, make sure the same layer is selected and slect 'Add Layer Mask' which will just leave a blue outline of your wire frame map.
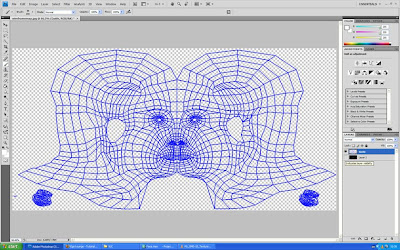
In the photo above I've hidden the layer beneath which is why its not black. Otherwise your should be black, Next, open up your reference images but without the topology lines on, this is why its good to put the topoogy ref lines on layers so they can be hidden and out of the way and I was following the Eric maslowski tutroial for a good 3 hours trying to accomplish this feat of pasting bits of the face underneath the wireframe map layer.
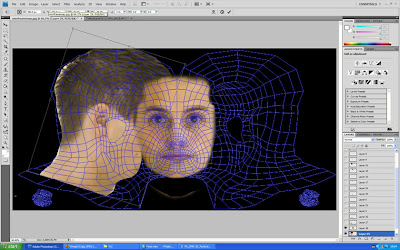
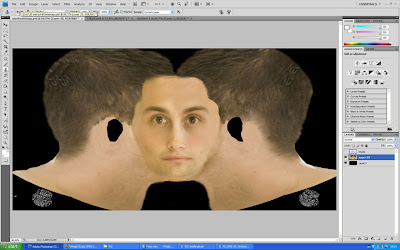
after trying this method as I mentioned for around about 3 hours, I did get a bit fed up to be honest because it just didn't seem to be going right, so I thought about a different method - what if I was to select the whole of my face and use Photoshop's 'Warp' tool to adjust the position of the eye's mouth nose etc and manipulate them into the correct places. So I decided to try this route and to be honest, I found it around 10 times easier:
I also used the same technique for the side of the head, this is me having just pasted the head on:
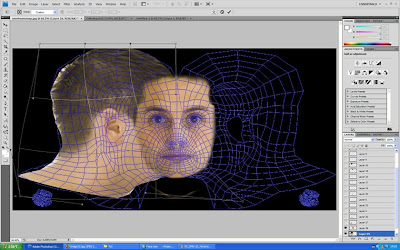
and here it is being warped:
And the same for the other side with the ears cut out:
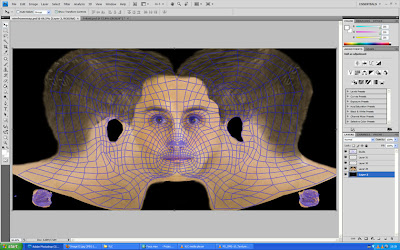
and then change the background colour to match some of the skin tone for any areas that aren't covered by the map. It is advisable to periodically save and check your map against your face to check everything is in the right position, I had to keep pulling things past the wireframe because sometimes it didn't quite cover the whole face and left gaps.
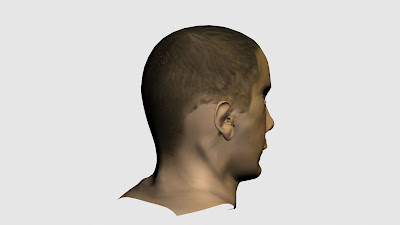
The head now looks much improved upon:
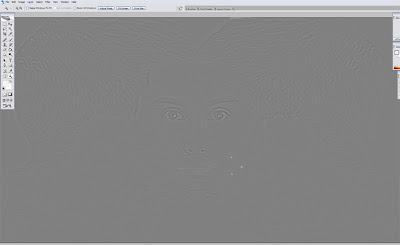
Good but still not finished as yet, I'd like to use the Uvw map also as a bump map to give some depth to it, so into the material editor now to add a bump map using the same PSD file with some changes as I used for the diffuse map to show the face, it didn't need much tweaking to get it looking pretty good, only up to 17 on the bump map worked pretty nicely here
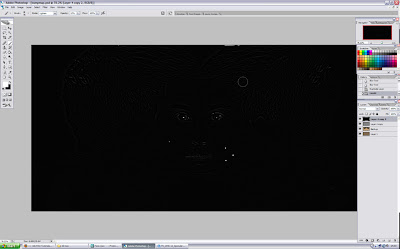
The difference probably only really noticable when these images are enlarged. but none the less, more detail the better. So the first task was to choose a bump map, choose 'Mix' from the options list which means we can apply two, one map for the bump map was basically done using the same image as I had for the diffuse map but in photoshop first using the 'Image' - 'Adjustments' - 'Desaturate' option, this will turn it grayscale. Then using 'Image' - 'Adjustments' - 'Levels', and pulling the far right slider at the bottom to the end of where the scale peaks, this should adjust the colour so it really brings out the blacks from the whites, next we wish to choose 'Filter' - 'Other' - 'High Pass' and adjust this so we can remove the shading and keep the texture, turn it down until it looks similar to mine below., the other map we wish to choose from is a simple 'Noise' map, this Mix filter means we can control how much of each comes through, I currently have it set to 60% Mix.
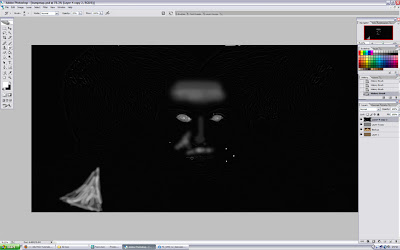
And as you can see there I've just use the lighten tool with the brush to highlight bumps/imperfections in the skin. This is because the bump map works on using light/dark areas to recognise where bumps should be, so any artifical light we put in will create a slight bump in 3D max.
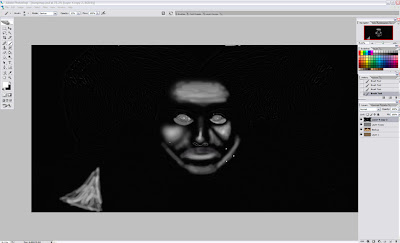
These areas are really most demonstrated here (Best viewed enlarged):
and on another file copied from this one I created a Specular level map which is used for defining areas that are to have the most glossiness/shine to them, therefore in photoshop we just need to lighten the areas that are the most prominent to light such as cheekbones/nose/lips etc, hbere is that process
next with a simple Gaussian Blur applied
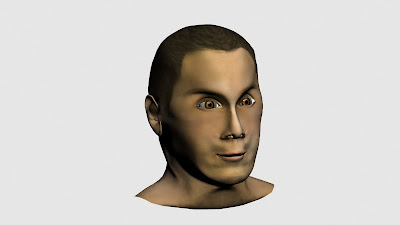
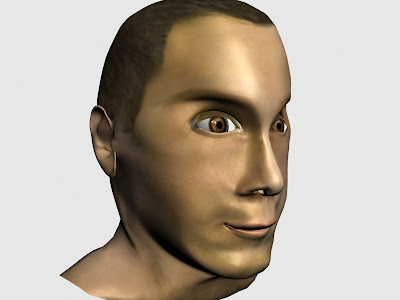
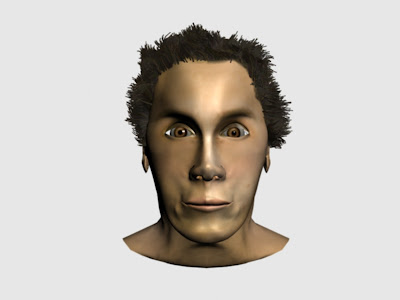
here is my material applied after I had finally finished editing all the maps
So this is pretty much the end of Eric's tutorial stages here, but I'm not finished, I want this to look even more realistic, so Hair and Fur here we go, one of my classmates Daniel Jackson had his already finished and animated by week 5 so I read his blog for some advice because of bad previous experiences with the Hair and Fur modifier. What i did was take a clone of the head by selecting it and holding down shift while moving it to the side, this creates a clone.
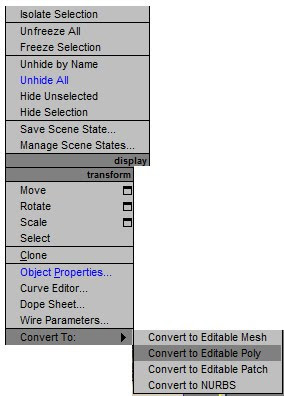
While this time we just want the main skull and not the eyballs as well. Right click to convert to editable poly
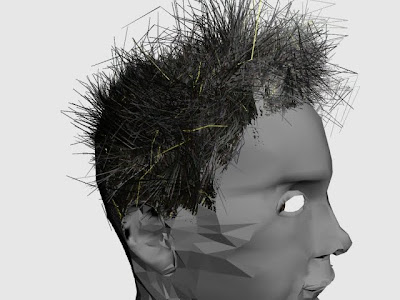
and select the polygons where the hair should be, as it is already on the skull, I had a good idea where to place them, but obviously as its my head i knew exactly where the hair lines came to so didn't follow the lines on the head exactly as it shows
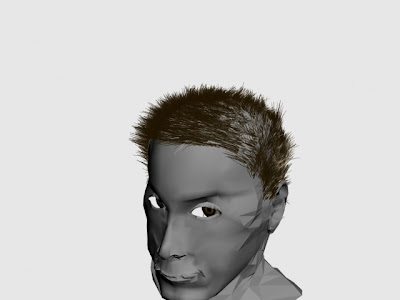
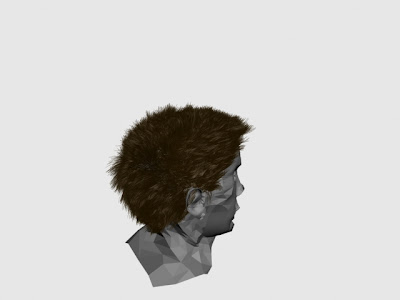
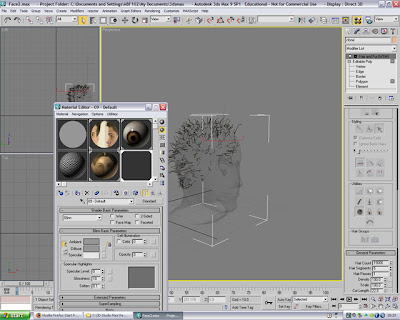
and with the right ones selected I just chose from the drop down box, Hair and Fur (WSM), now the standard setting is well out leaving me looking like a Rod Stewart wannabe. But I tried various hairstyles with a very low poly model of my face before trying the high detail model, here are some examples that came up when I was experimenting:
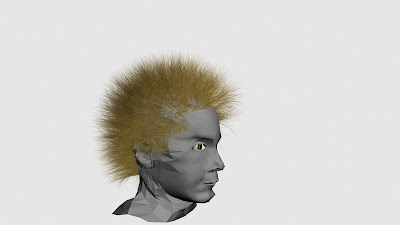
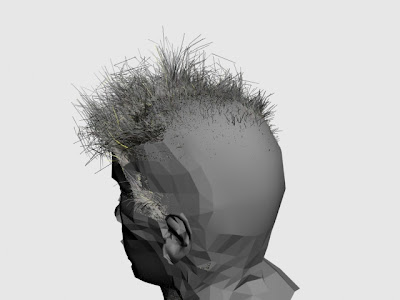
As you can see there are many different settings to go through, these are just a few of my examples. In the end I started to find a stykle that suited the realism of me an suited the model I had created and after experimenting, it meant that I knew a little how to manipulate the Hair and Fur settings, first of all because I wear gel in my hair most of the time, means my hair needs to look thicker, because thats how my hair looks most of the time even though my hair without gel isn't particularly thick. and this would mean I could also use less hairs because of the clumping effect my hair would show also benefitting from quicker rendering times.
Before we apply the final hair to the model, I also had to make the second head invisble and apply the texture to the model and move it into identical position as the main head.
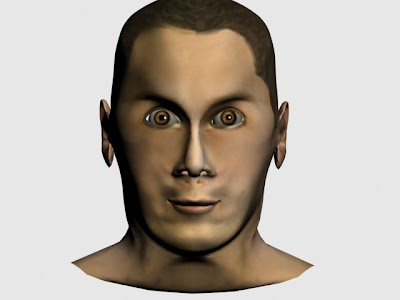
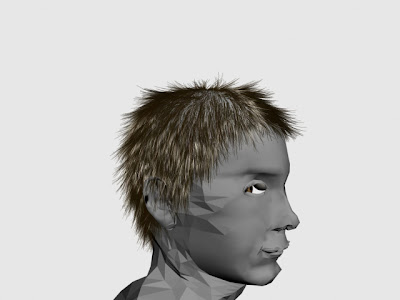
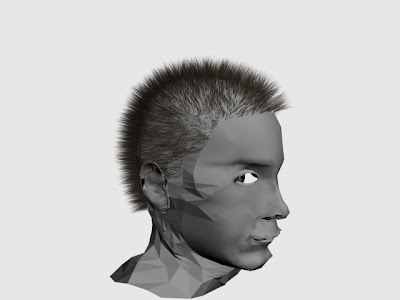
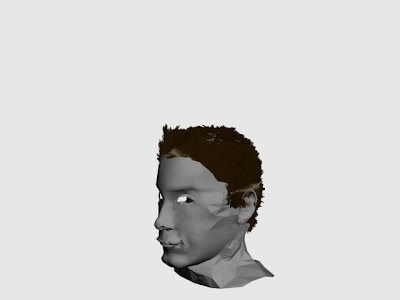
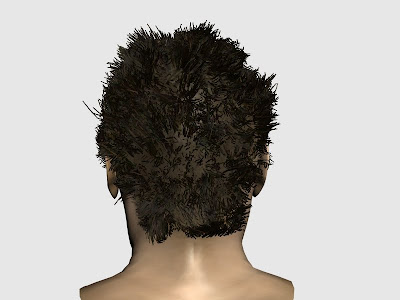
here are the final shots of the hair style to be used, also you may notice I have played around with some features of the face, mainly the nose and mouth:
 Animation
So you'd think that was it huh, well actually, no, I wanted to animate it, just with simple effects I think just to prove that I could get to that stage, so with the keyframe slider, I moved it onto Autokey and as you move the slider along, change something on the face, I moved the eyeballs and the mouth at different intervals to make it appear as if it were smiling, it doesn't look fantastically realistsic, but I only had about 4 hours to master this in so not much time to have an experiment with different settings. Any how here are a couple of screen shots from the process and the final rendered avi. (Please bare in mind that Hair and Fur takes almost an eternity to render so this feature was not included unfortunately.
(Grouping the items together)