Ok, so by now we have half a mask, this is mine (with a subtle difference i might add):
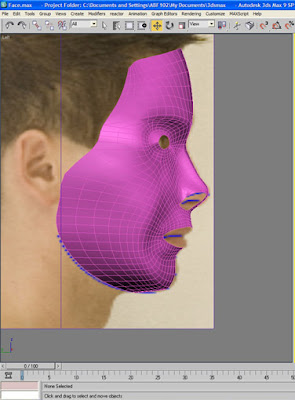
Ok so you can see I have my mask, but it will almost certainly look a lot smoother than anything you've created because I've ticked the NURMS Subdivision Box you see below;
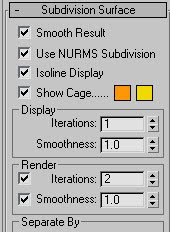
The reason for me doing this is so I can see if there will be any obvious creases or pinching in the end result, its a little tool but i don't keep it on, i always taken it off after i've seen what i need to see other it could actually mess up the smoothing when i try to join the rest of the head to it, so never save your work with NURMS tickbox left on as a safety precaution.
Now its time to get a move on and finish off what we started, so select your face and under the modifier drop down menu box, select 'Symmetry', If you click on the drop down box next the the symmetry modifier after choosing it, you will see there is one option called 'Mirror' Select that and move your mask side to side, it is more than likely that it will be symmetry of the wrong side, or the wrong way round, so all you need to do is check the 'flip' checkbox
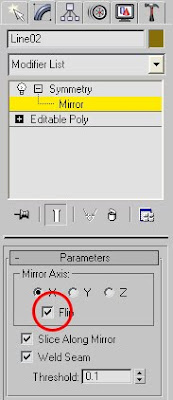
And now using the 'Mirror' tool, you should be able to create the other side of your face perfectly, best tip is to line it up with your photo and even if there is a gap in the middle, you can join the vertices in the middle together to bridge to gap, just be careful of triangles forming at this stage because where it pulls the mask together it can form new vertices as triangles.
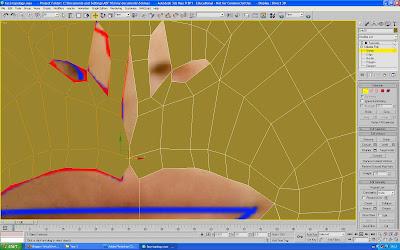
Above is me pulling a gap in the middle of the mask together to demonstrate the symmetry effect of it pulling together. Now the front of the face is together, you can see for yourself if there are any obvious mistakes or bits that need adjusting.
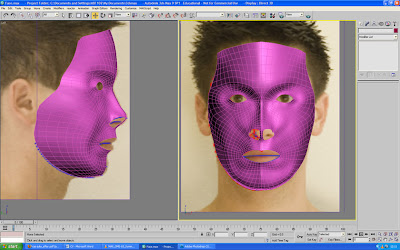
This is the stage I am now at, (with NURMS turned on), it took me some fiddling with the vertices before I was happy with the arrangement at this time.
Mouth and Nose
In the video tutorials provided by Eric Maslowski he doesn't explain how to do the lips, but I used the same method as he uses for the nostrils, which is to select the inner edges of the nose, but not the 2 edges closest to the bridge between the nose
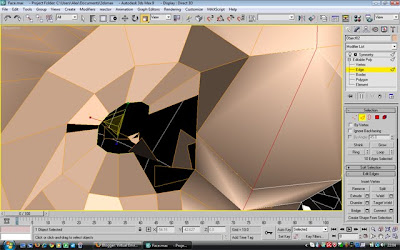
As you can see, It looks as though there is a polygon missing in the nose, but it is just a shadow as it is resting in a slightly different position. Next stage is to draw the rest of the nose in.
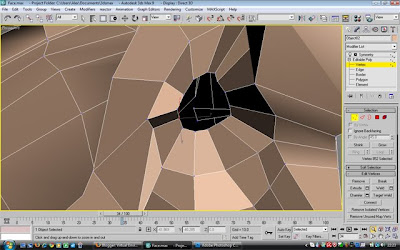
Next, you need to draw two polygons in the hole to fill it, to do this, click onto 'Polygon' under the modifier panel and create:
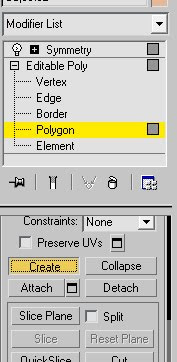
and just join up the vertcies to create new polygons, keep it as simple as possible, so the less the better:
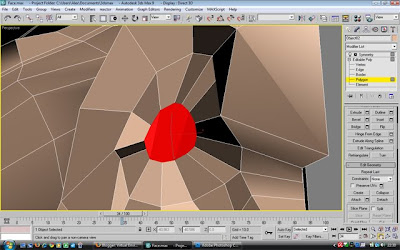
Here I have created 3 polygons, now, they're not 4 sided ones, but that doesn't matter too much here because the area will be inside the nose meaning any pinching would not be seen anyway. Next with the Polygon modifier and the new polygons you just created still selected, click on the little settings box next to the 'Extrude' button
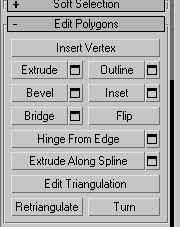
This will give you an option where you will need to 'group' the polygons and choose which way they extrude, here is a screenshot of mine how i left it with the settings shown that you need to choose (the amount may vary however).
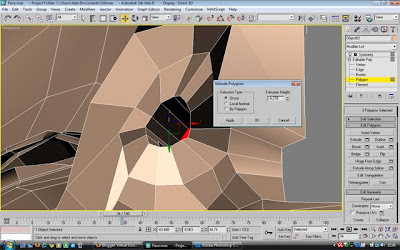
This will pull the polygons inside the nose up inside in the shape of hopefully what will look like a nostril and hopefully more so once turbosmoothed. just make sure that it is pulled in at the right angle that a nostril normally goes inside a human face, otherwise it will ever so subtly look unnaturally on the final piece. The lips were created in a very similar fashion, selecting the edges and cloning them twice for each lip so they can be curved over, I have documented this process in photos step by step as you can see below, this step was probably one of the most challenging that I had found so far at this step.
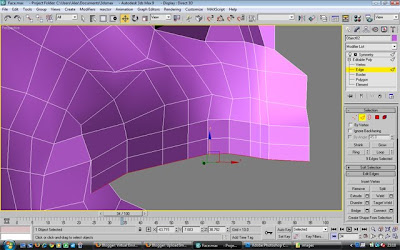
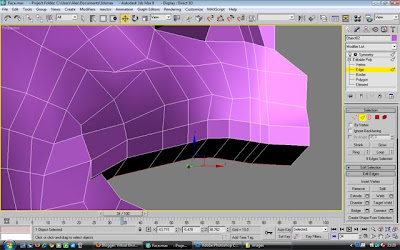
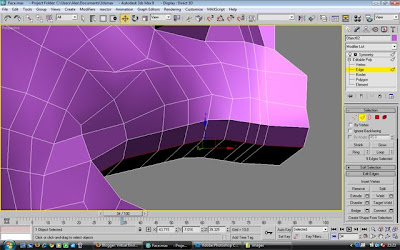
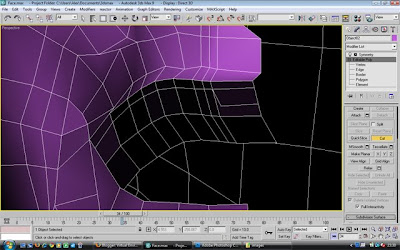
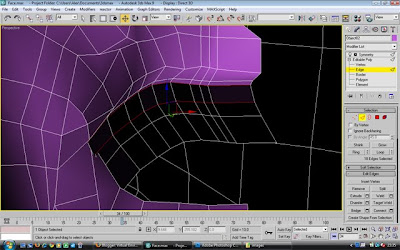
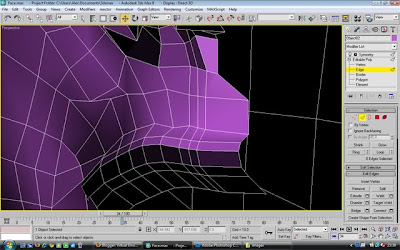
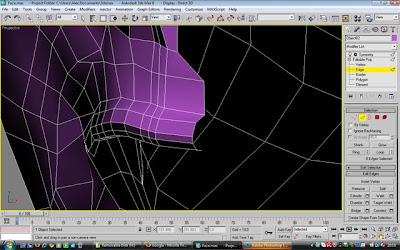
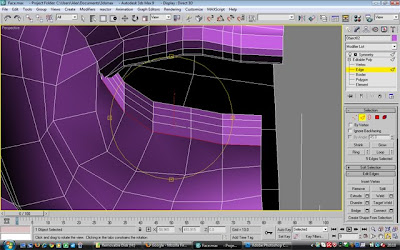
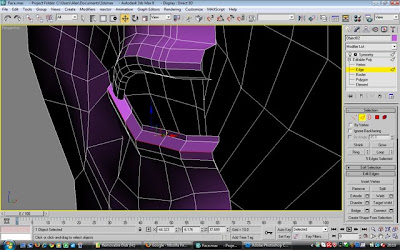
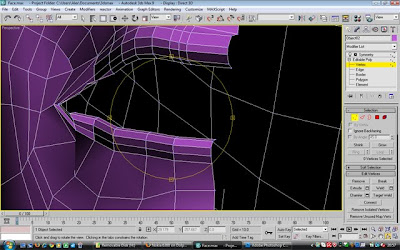
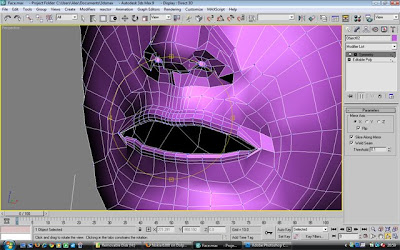
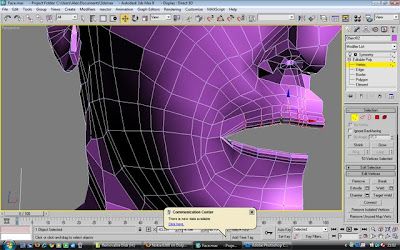
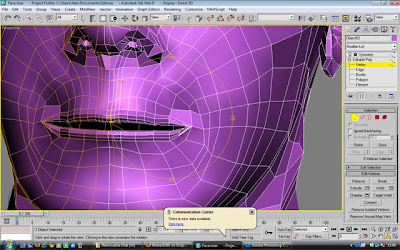
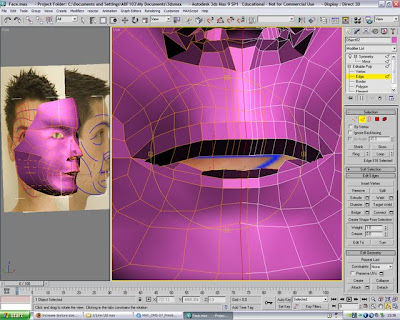
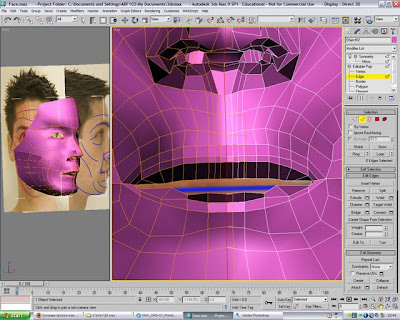
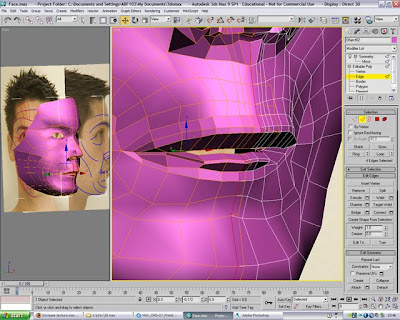
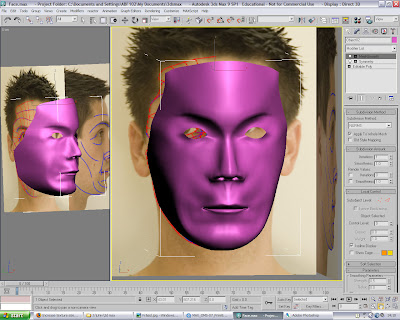
As you can see I've been messing around with the mouth at separate times because I have been doing it on my home PC and at university because the mouth and nose both were fiddly jobs to complete, but worth the effort for the finished article. I quite enjoyed trying to craft what my own lips look like, its difficult when you don't look at yourself all the time, but if you use the reference images, it makes life a whole lot easier.
at times I have taken a screen shot of what the mouth looked like with the symmetry included so i could see for sure what it was looking like, but for editing purposes it was easier with the symmetry off which is why it jumps backwards and forwards between pictures with and without symmetry. At this point i feel the mouth is too narrow in comparison with my face but I have spent far too much time already trying to get this done, I feel it is time to move on if I am to ever to complete the whole thing and edit it when I'm finished should there be enough time.
Personally I feel this project has come along nicely within the last three weeks, i have gained so much knowledge already in creating a face, I feel that these methods of creating items could also be put to use in creating other 3d files like cars, boats, planes etc in a more detailed way using complexity for detail. Im very excited to be learning these methods becuase its part of what i crave for in 3d max to be able to create complex items, Im finding creating this head of mine although be it a challenge, enjoyable and informative too.
Topology on the face looks good Alex. Should end up looking ace.
ReplyDeleteThanks for the tip with the lips!
Thats ok mate no probs
ReplyDelete