the next task I was assigned to do was the little linkage mechanism and the two pulleys that rotate the large belt at the edge of the machine
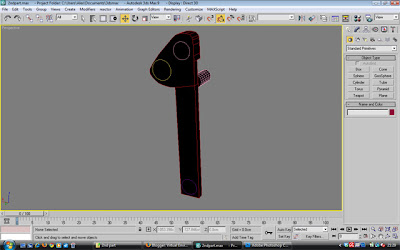
Picture of the linkage for reference (you can also see the small pulley and belt I have to model as well):

So the first job I took on was to create the pulleys and belt. This consisted of starting out with a cylinder, enough polygons in the height so we can select two sections to scale smaller:
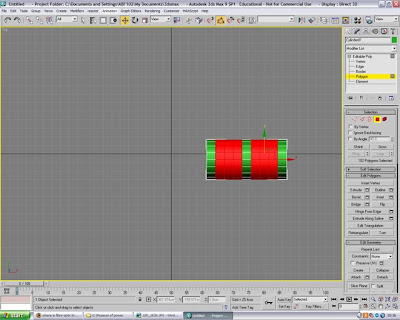
And then scale the selected parts down so it leaves a shape similar to this:
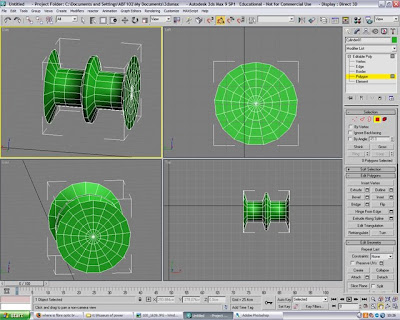
Using the connect edges tool I added some more edges in to manipulate the shape further:
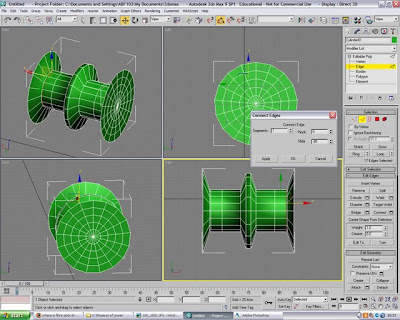
Enlarged them so they matched the size of the outer edges
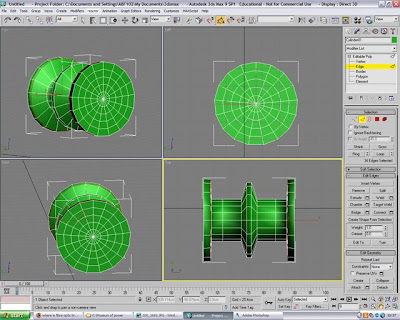
Edited it a little further til it represented the shape I wanted to use:
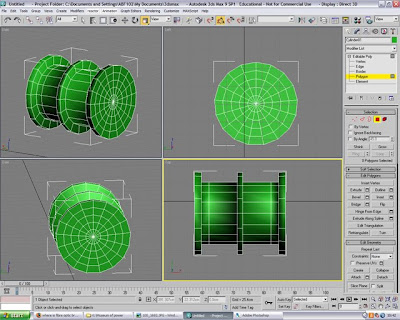
here is a little render of this part
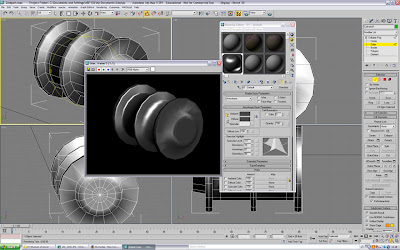
Using Nurms to smooth and changing the material slightly
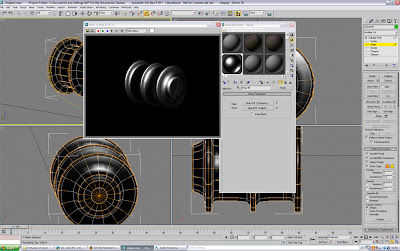
Looking very nice but just to render this little part, it took around about 30 seconds which is way too much considering this is a very small part of the final scene so I took the raytrace effect off and it took it down to a much more acceptable 3 seconds! still leaving a nice result
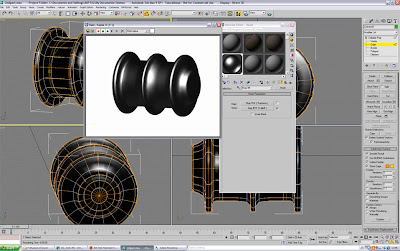
The Big pulley
the big pulley is essentially the same as the small pulley but I still created it separatelt because it did have minor differences I wanted to capture So using a cylinder:
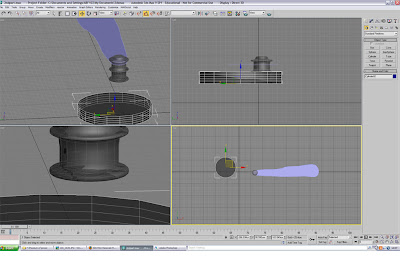
again I selected the inner polygons and scaled them smaller:
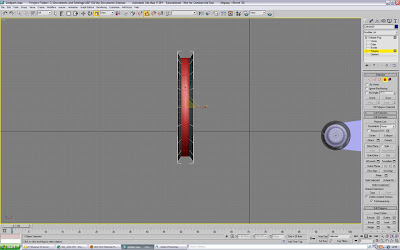
Added two more edges using the loop and then the connect tool:
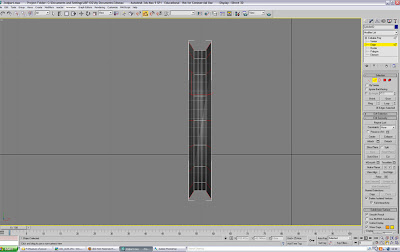
manipulated the added edges to put a slight curve at the top:
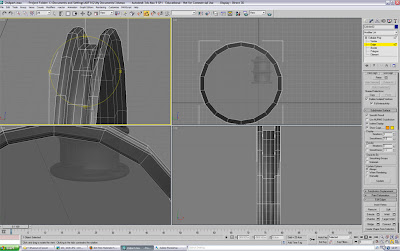
Editing the belt
Next I placed the big pulley at the end of the very rough belt i had created so now that I could shape it round the two pulleys i had created:
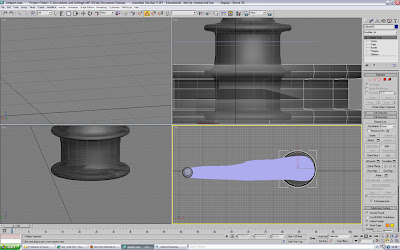
The first job was to just pull the vertices of the very rough belt to the actual shape around both of the pulleys
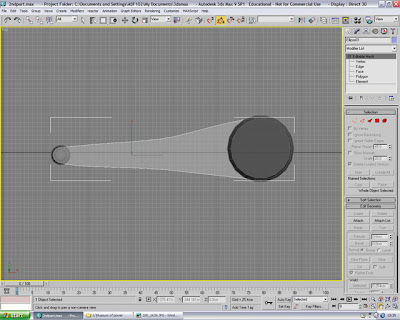
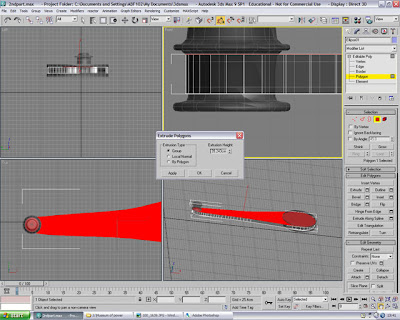
The belt then needed to be converted to an editable poly and then extruding to the width of the inside of the pulley:
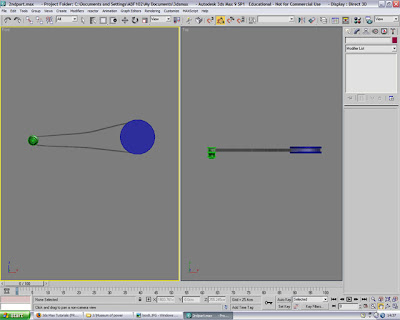
The final belt with the inner polygons deleted to just leave the outside ring:
Linkage
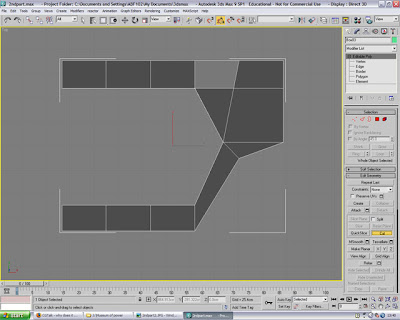
The linkage part of this was slightly harder as the shapes are more diverse and complex in the linkage part, I started off by creating a shape using splines similar to the linkage shape and converting it into an editable poly:
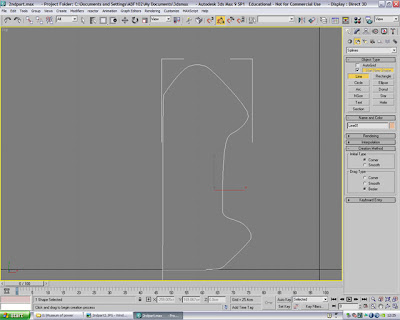
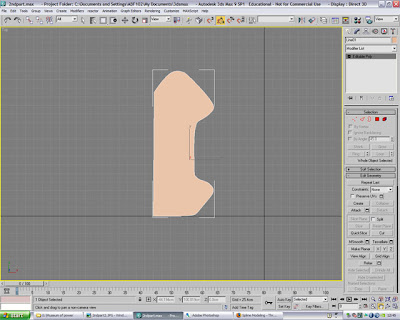
Now unfortunately after this part I used a PC where the print screen button didn't work unfortunately leaving me without a few screen shots of creating this part, but here is a couple of pictures of the finished article and I'll explain what I did
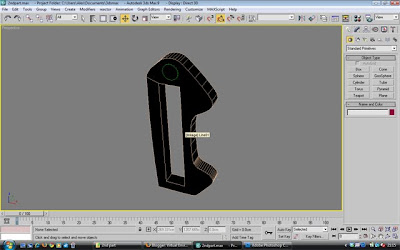
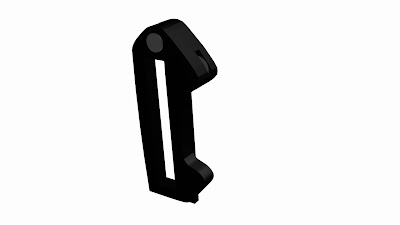
this picture here is showing the finished part from what I was creating in the pictures earlier, it is basically the 3d poly after having been extruded and the edges capped because it had one side that was open and slightly modifying the shape so it correctly matched the shape of the original part on the engine. the only other thing that has been added to this shape is the metal material mentioned in the post earlier on. here is a screen shot of the rendered linkage:
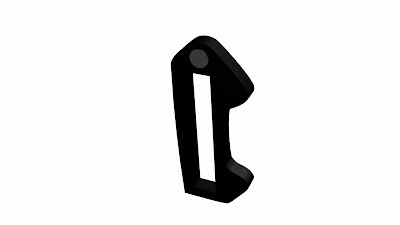
Next I used 4 more cylinders and the same method applied above using splines - convert to editable poly - extrude, to create these shapes seen here to add to the linkage part:
added to the linkage they look like this:
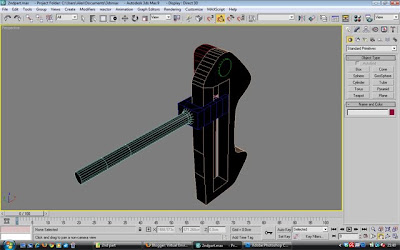
Next to add a very simple long cylinder which has the end flared out by scaling the end vertices up and placing that cylinder and grouping it with a box with some polygons cut out in the middle with another small cylinder at the open end of the box to create this part you see below:
Nearly finished this part, just have to create one more bar and it'll be done, we start with another box modified to the intended shape with some polygons deleted from the middle and some other minor modifications to suit the real-life part:
Next I tried to find a tool to enhance the ends of this u shaped link as they should actually be round and the first tool I found that seemed to replicate anything of this nature was the tessellate edges tool:
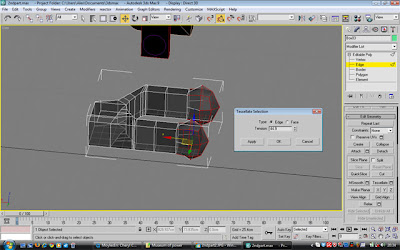
and then using the chamfer tool i was able to add it some more edges to manipulate the shape some more:
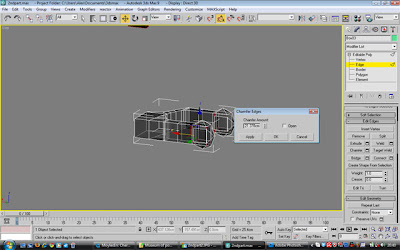
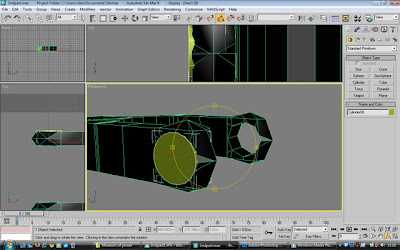
then using the connect edges tool i was able to add in some more edges that allowed me to create an inner circle:
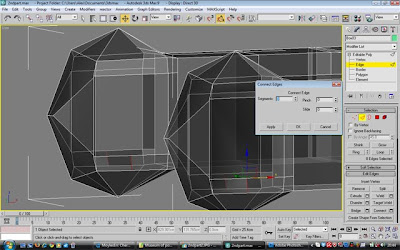
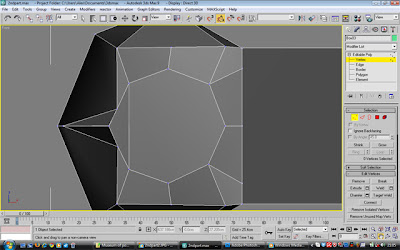
I added a small cylinder to give the effect a metal pin was going through:
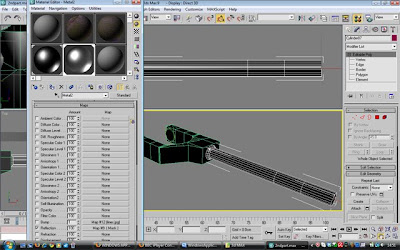
add the metal material created earlier:
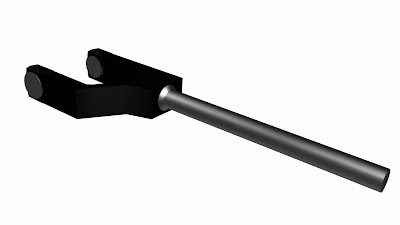
and rendered it so far:
But, wanting perfection and also realising there is a way to achieve not only the same effect but better adn its about 10 times easier was to have deleted the end polygons (the one I just performed all the modifications to) and add two cylinders the same:
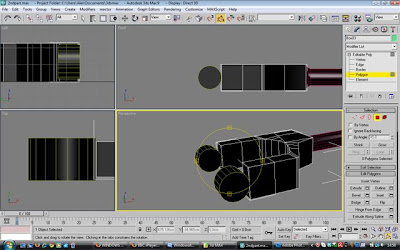
and then adding a bigger cylinder around these ones:
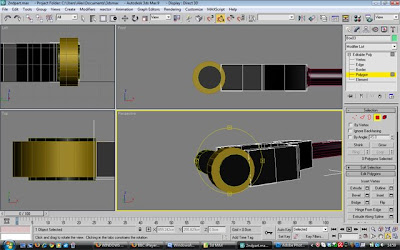
and then joining the bigger cylinders to the box using the vertex weld tool, I came up with this:
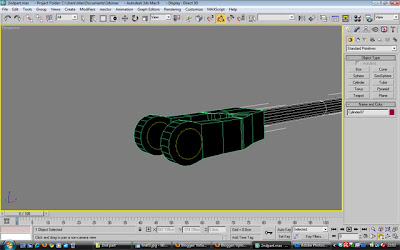
Ok so I did take the long way round, but we live and learn. I wont be making that mistake again (hopefully).
No comments:
Post a Comment