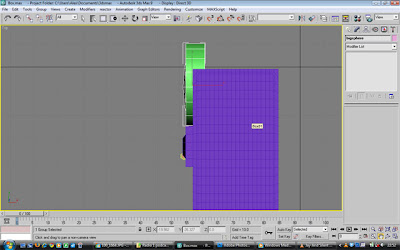
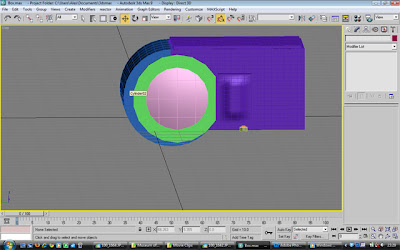
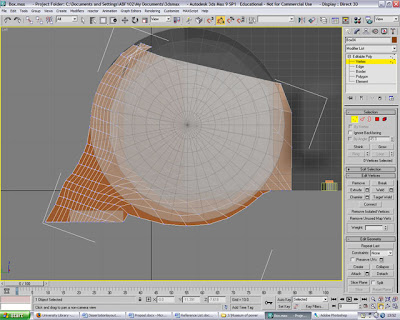
the next task was to adjust the side of the box by this big cylinder because on this actual part of the real box it flares out slightly and has two gas pipes coming out of the side, the next picture set is of me adjusting and manipulating it to meet the right shape and position, the main method here was to grab and pull around the vertices so they met up with the box i had created.

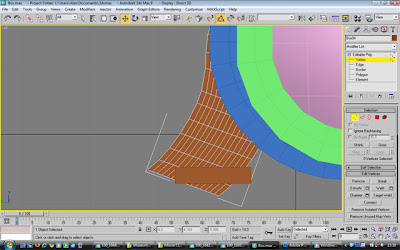
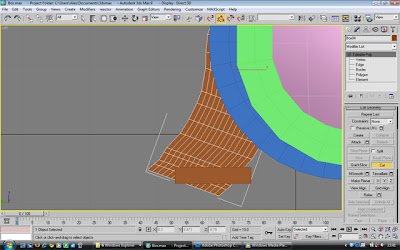
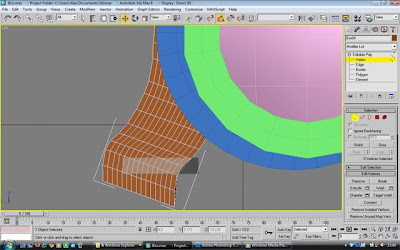
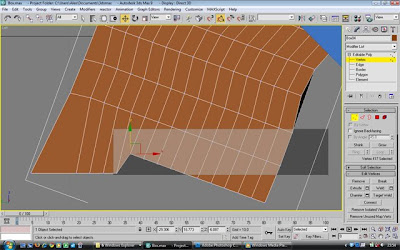
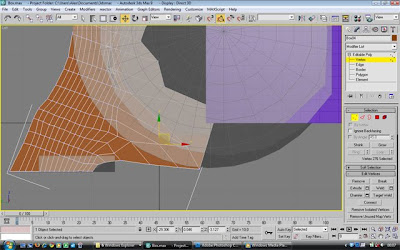
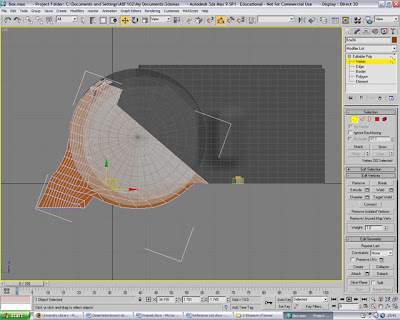
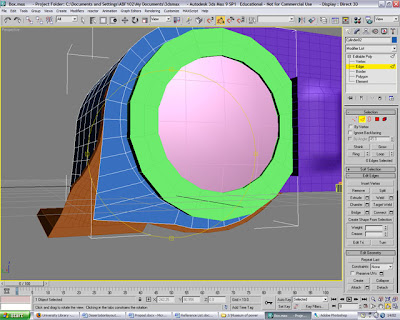
next was to use the Symmetry modifier to create the exact same shape on the back of the box:
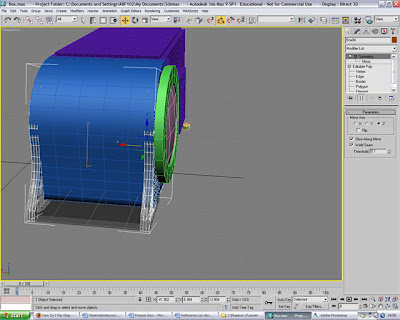
Final adjustments
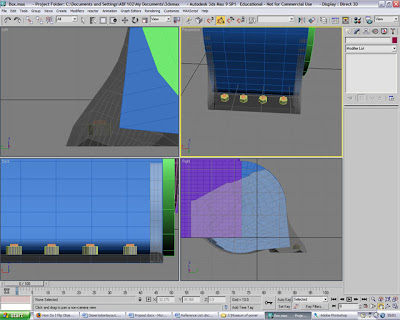
here is the Box rendered at this stage:
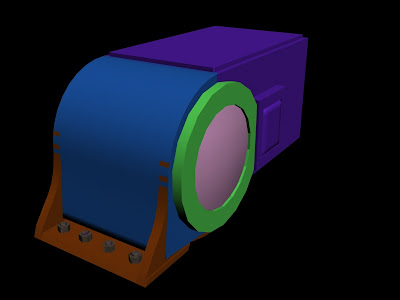
Now to create a small but very fundamental part of this model to add vital realism. this was the Nut and small bit of thread poking out that can be found all over this box.
Creating the Bolt
Starting with a small box:
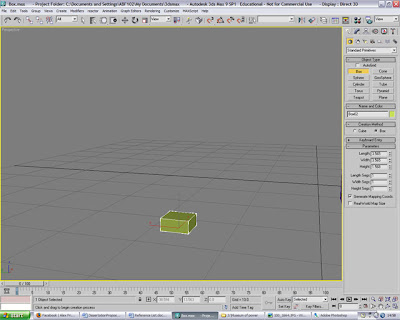
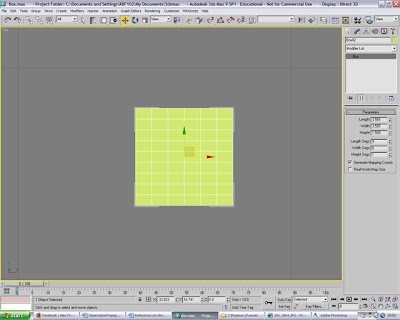
I rotated it round so i could work on the shape in a diamond like format and modified the edges so there was an extra side on both sides. i deleted the sides of the shape because it proved awkward to get side polygons sorted out correctly, so i found that deleting them and redrawing them in solved this problem
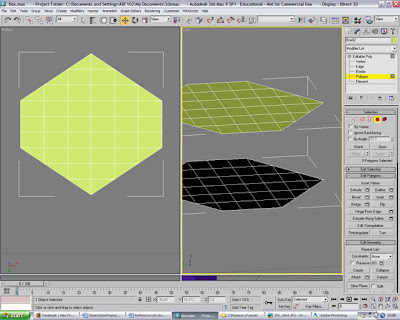
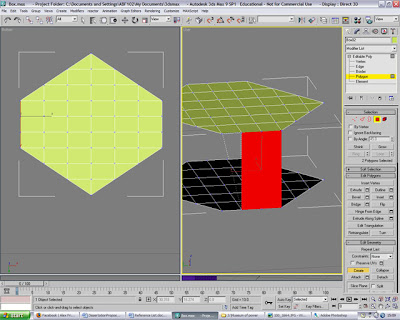
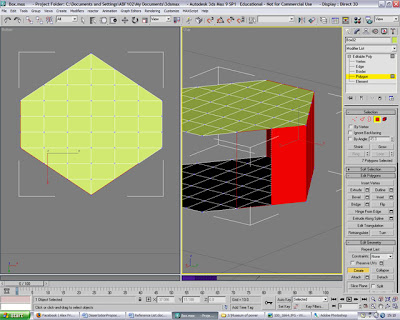
Once the sides were built, it looked like this:
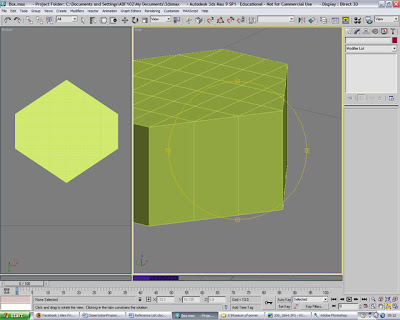
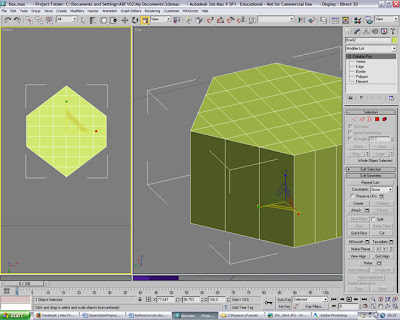
the next stage was to create and move a cylinder into the correct position into the center of the bolt
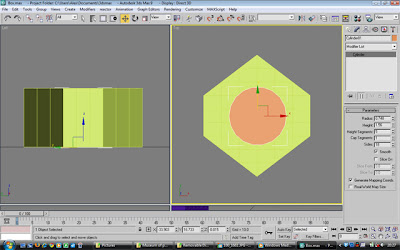
Next I raised the cylinder higher so that it could represent the thread part of this model and used the cut tool to cut diagonal lines around the side of it:
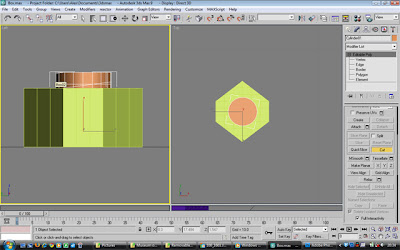
Here are the extra edges lines I had created:
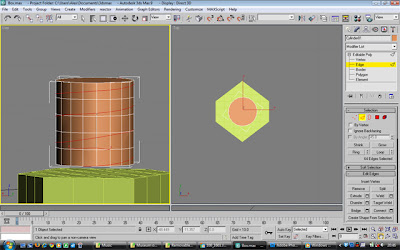
Next i used the scale tool with these edges still highlighted to emphasize them and make them appear as if they were the studding part of the thread.
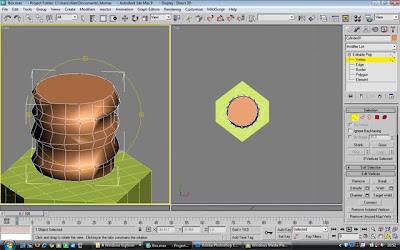
Just moving the thread back into position;
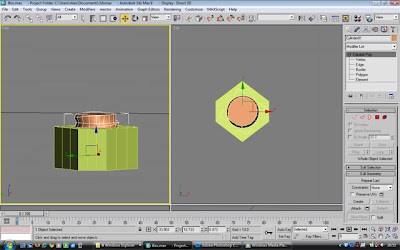
testing out a material on it
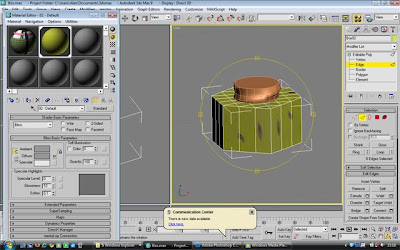
using the UVW mapping tool to adjust the map on the model:
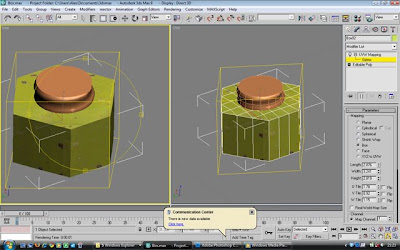
adding a speckle bump map on the material editor (to add the effect of rusted metal within the paint)
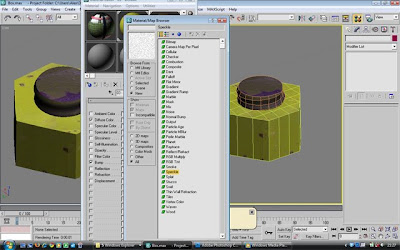
Applying that map to the thread as well:
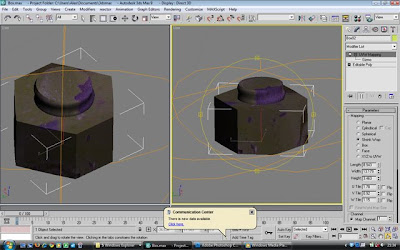
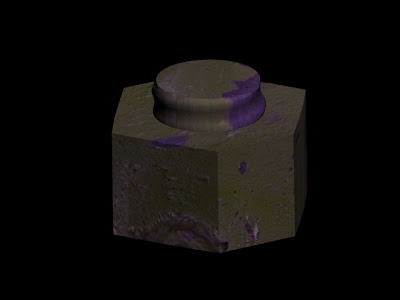
Rendered nut at this point:
Now to place the nuts on the main box:
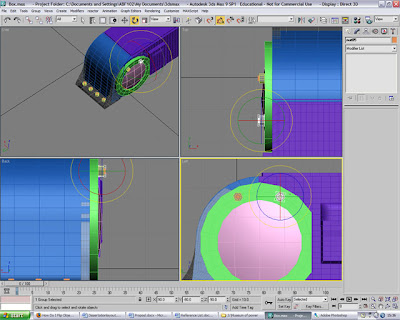
Placed around the biggest cylinder after having been cloned:
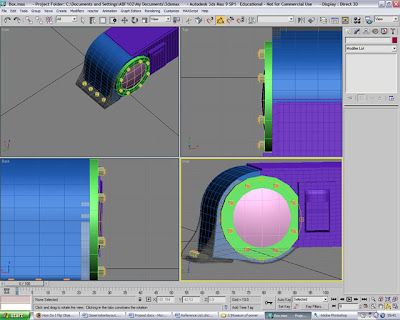
Now I started creating the smaller round cylinder on the right hand side of the box very similar to the one I the left I have already created. So similar in fact that i just cloned the big Cylinder and Part sphere:
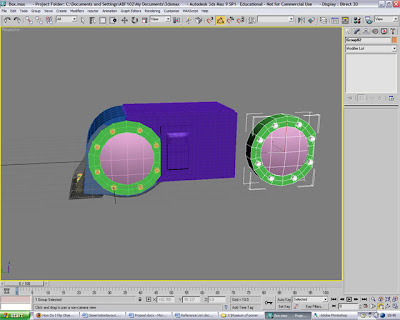
Then it had to be scaled smaller and rotated round so the flat edge met up with the middle rectangle:
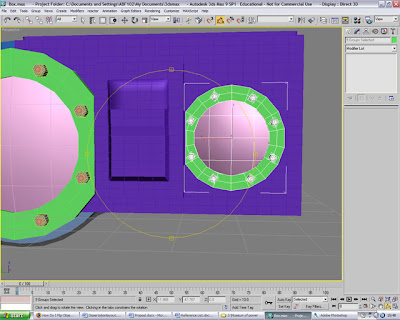
Here is a render at this stage to test the water:
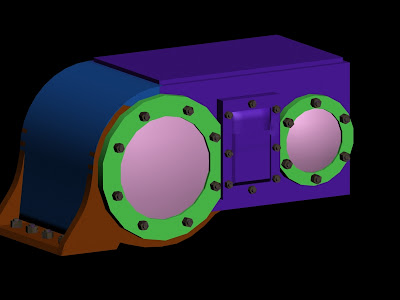
next to adjust the curve leading up to the top of the box around the big cylinder:
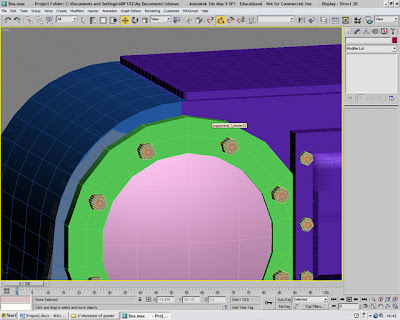
Adjusting the vertices in different view to get the angles and smoothness right:
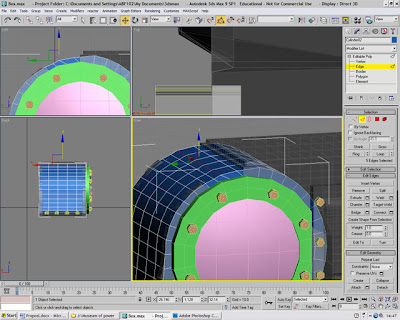
Final adjustment of this curve:
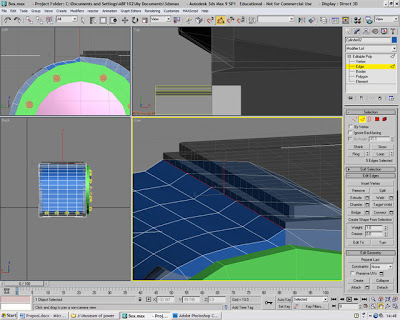
Time to adjust the step and moulding of the box from the other side, as you can see from the real picture below, this edge is very defined and needs attention to detail to get it correct:

As I see it, it has a slight round curve downwards and then a flat part leading towards the side of the box, so to replicate this I deleted the corner polygons around this part of the box:
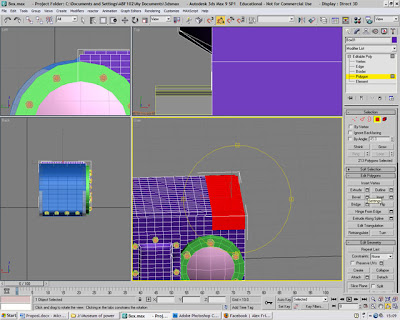
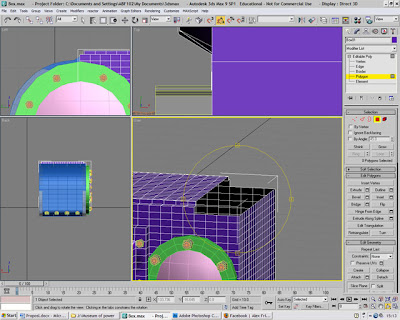
Then I used the polygon create tool to form a kind of step down:
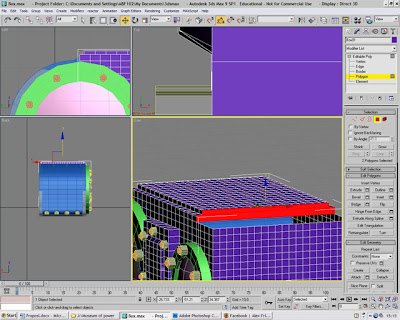
and then created some polygons along the flat part of the surface leaving me with a better shape to mould and form:
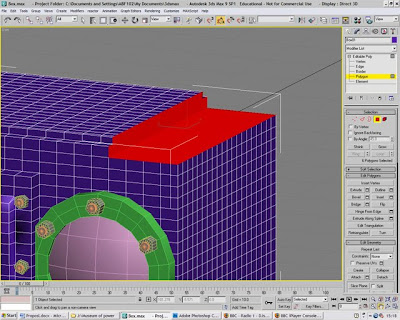
Next I used the edge selection tool to adjust how it curves (this took me quite a while before I was happy with the final result):
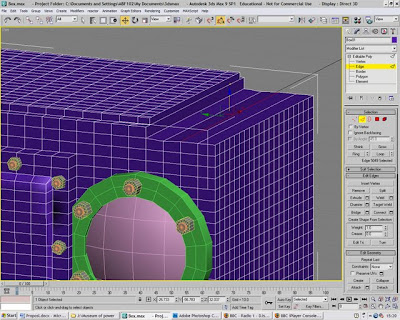
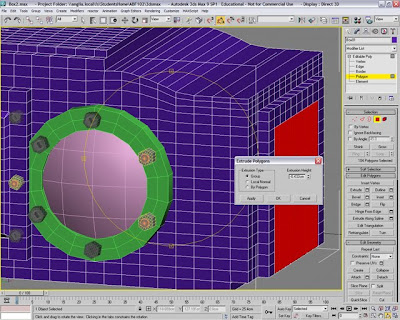
After having adjusted the edges and selecting all the polygons on the end of the box to extend it as you may be able to see I am about to press the extrude settings box to extrude the selected polygons:
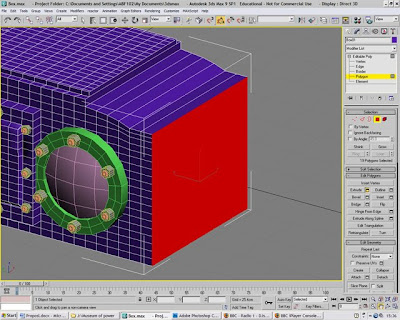
Polygons having been extruded:
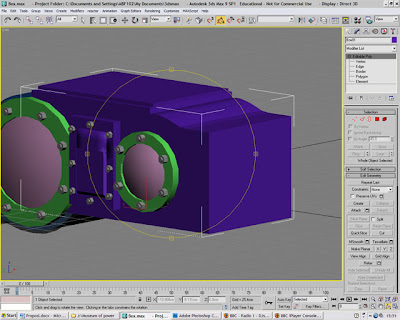
Now to add the features on the side of the box we've just extruded, So I selected the inner polygons to extrude some more and create almost a door:
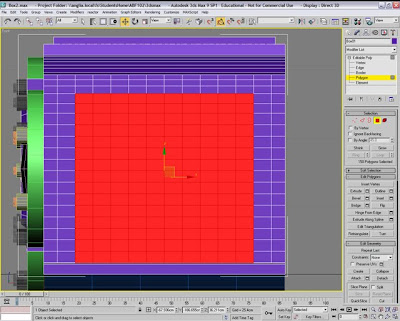
Now to select the inner polygons of the extruded ones to invert them slightly because the real engine has a part here where it has a slight step into the middle
the next task was to create the text for the side of the box, so I created the text and found a similar font to the one that is on the actual engine and wrote out the text in 2d:
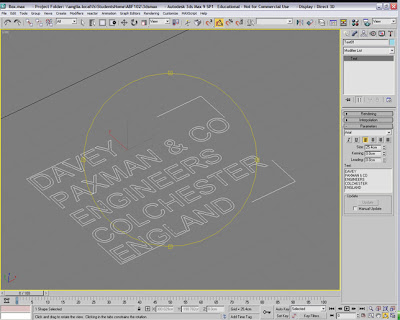
but what i realised was that I couldn't adjust the height spacing between the text how I wanted to if they were all grouped together, So I had to create each line of text separately to get the spacing to look how I wanted it to, so here is a screen shot of the first line of text placed on the box, I found that adjusting the spacing was easier if I placed the text on the box as i did it, becuase then I could see where it was in comparison to the actual picture we had
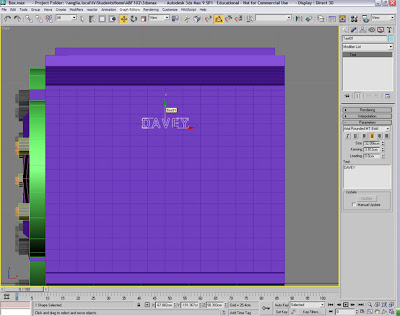
All the text added and the 1st line of text created into an editable poly
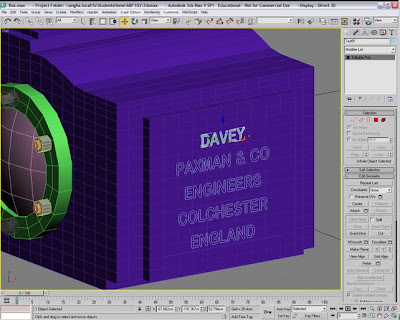
Then I extruded the text
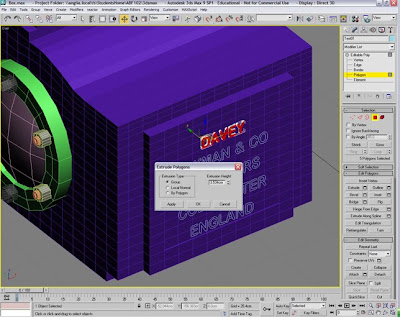
And then copied the same procedure for the other lines of text:
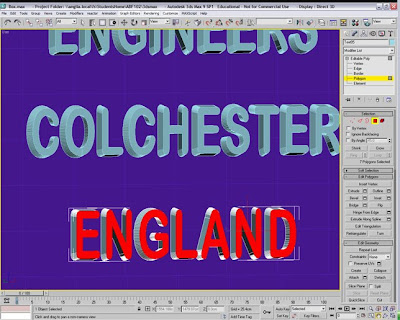
Then I made the front of the text smaller by scaling the polygons at the front as i feel this is how the text on the actual box is best represented:
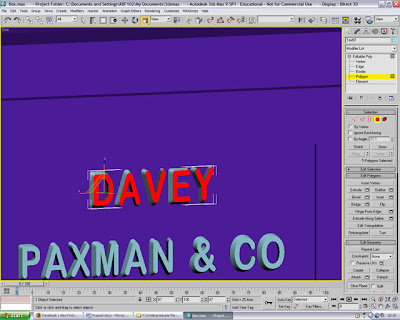
Ok so earlier you may have seen me create the thread for the nut, but at this point I have contemplated changing them because i am not that happy with the final outcome, so in deciding to try another method, here goes:
I created a Helix to start with and adjusted this similar to how I wanted my thread pattern to go:
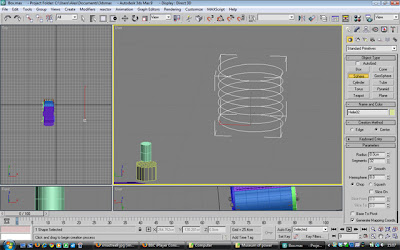
Next came to creating this into a 3d shape, you need to use the loft tool and another small 2d circle to take to shape from
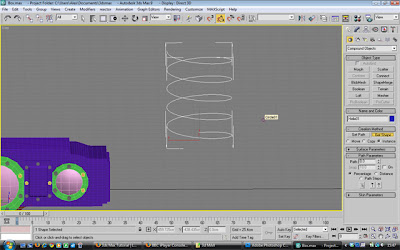
After i was happy with this I used the twist Deformation tool to adjust the shape slightly
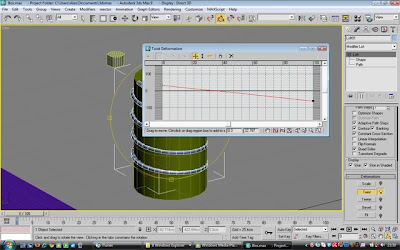
next I adjust the height of the helix and cloned it to make another one:
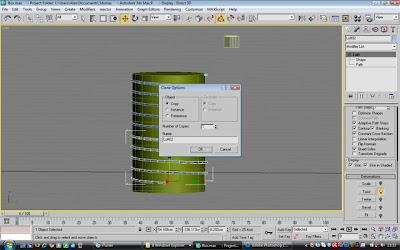
Now to attach the two objects:
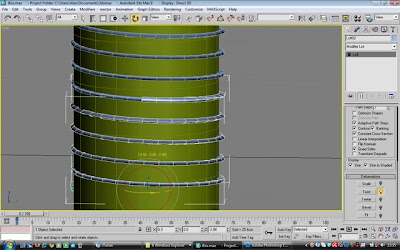
Now to adjust the top of the thread where it starts and kind of blend it into the top so it starts seamlessly, it was just a case of adjusting the individual vertex until I thought it looked acceptable:
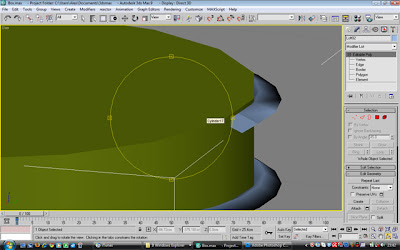
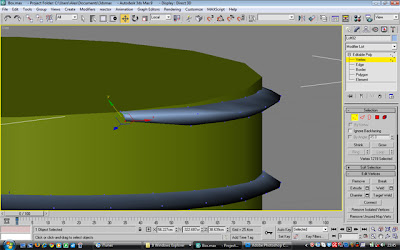
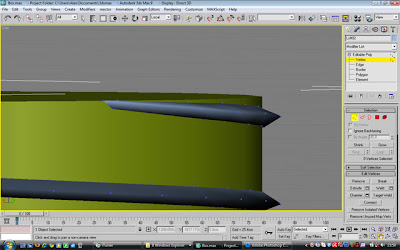
And then came a simple clone of the whole object to appear as if there were more moved downwards.
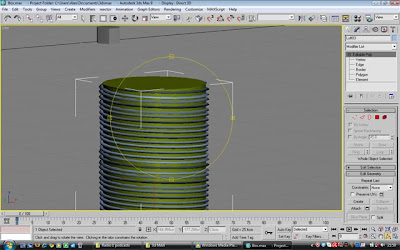
Helix attached to cylinder and placed back inside the nut to finish off the nut and bolt:
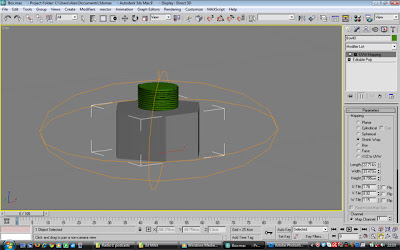
Moving on to the back of the box now some complicated shapes to create here I cloned the front two cylinders (but not the spheres) and placed them on the back of the box relative to where they're placed on the front. But creating the inner shapes was quite fun because of the extraordianry lines they had:
So I started by creating a cylinder with a decent amount of polygons:
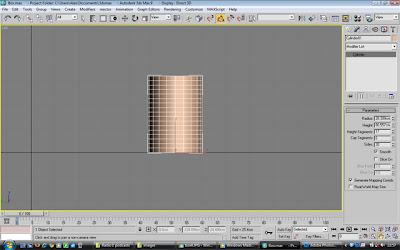
selected the vertices at the bottom and used the scale tool to enlarge:
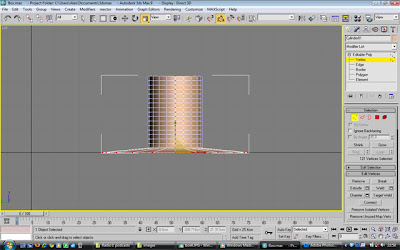
Started gradually increasing the size of the lines of the polygons above in the way I just did to create a gradual curve downwards:
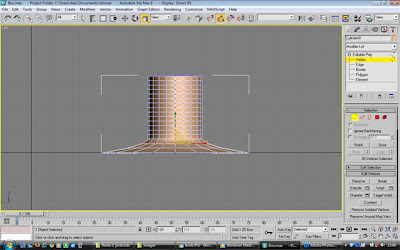
Next I selected the top 4 lines of vertices to enlarge all at the same time and then on the bottom edges I used the loop tool to loop the edges around the base and introduce some more, this was so I had some extra edges to play with and manipulate the shape
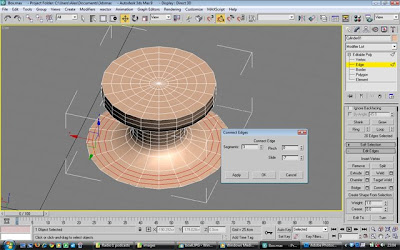
Selecting the outer edges at the bottom of the shape I raised it up to create a lip on it:
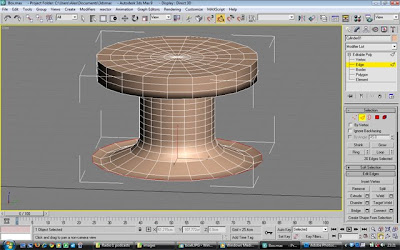
and here is the shape placed on the box in the cylinder:
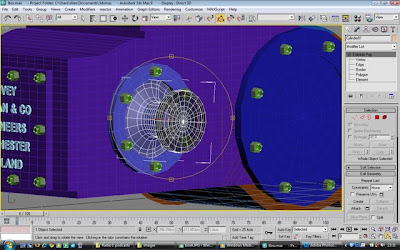
This shape was then cloned to use for the other cylinder:
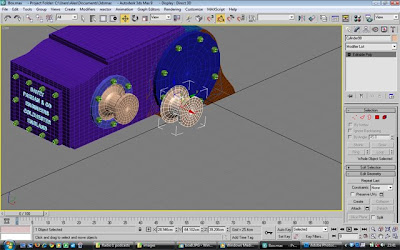
to be continued...
No comments:
Post a Comment